Making Wolf O'Donnell Marketable
2025-03-16
This project largely followed the same process as the other wolf (coyote?) I animated earlier, so I'll spare the details. However, I thought I'd take note of some of the hurdles I encountered with this piece in particular, sorted by which application I encountered them in.
First, there's Inkscape.
As I worked with more complex shapes, I encountered my first crash in Inkscape. Luckily for me, Inkscape autosaved and had the courtesy to tell me where to find the recovered work:

At some point, I accidentally closed my layers panel, but I was able to reopen it here:

If you want to import a single SVG into Blender and have the resulting grease pencil object have separate layers, separate your objects into groups, not layers:

Unfortunately, if you've renamed your groups, you'll have to figure out which layer is what yourself.

I also learned how to create a "clipping mask" in Inkscape:
- Duplicate the object you want at the "bottom"
- Create a new object for the lighting/shading
- Sandwich the new object between the two identical objects
- Select the top and middle objects and go to Object > Mask >Set


Do your copying and pasting in the layers and objects panel, not in the viewport. This retains the order the objects were in.
You can hold Ctrl + Alt while dragging a node to extend a path in Inkscape.
Then, there's Blender.
Blender has this issue with making sharp edges of lines rounded:

I've heard that one way to get around this is to convert the lines into their own shapes, but that causes its own problems as Blender doesn't know how to deal with objects that aren't fully "solid".
Here's a better example. Say I have this "donut" I made in Inkscape:
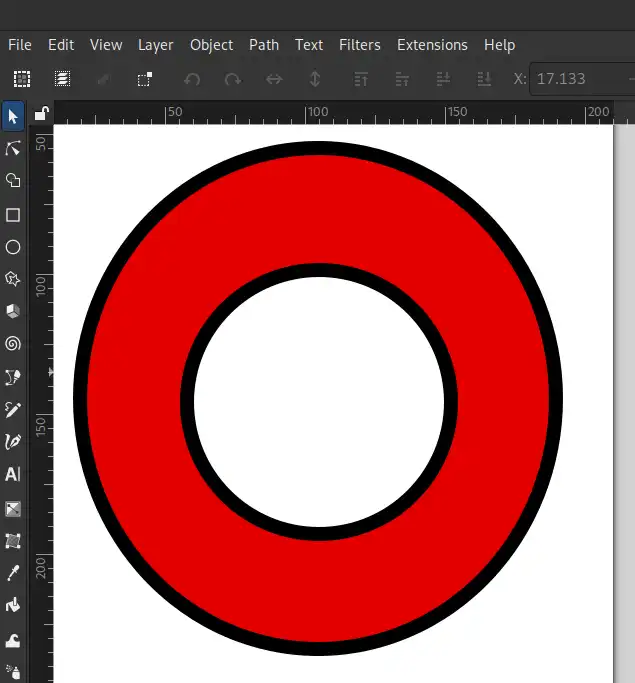
It looks just the same in any other program. However, in Blender:
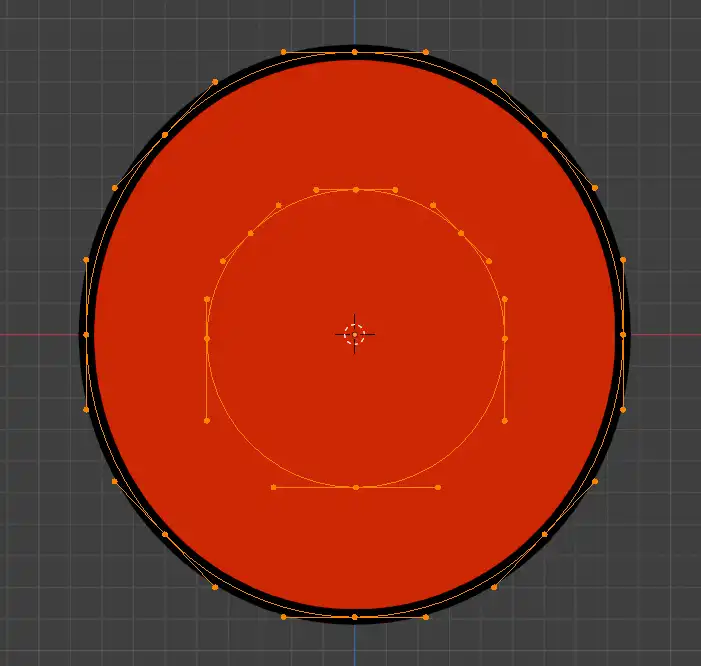
The points of the inner circle are there, but Blender doesn't know what to do with it. Apparently, this behaviour is normal. I won't question it.
For these reasons, I found it simpler to just use high-resolution PNGs (2000 dpi, for future reference) instead of importing the SVGs as grease pencil objects. I don't plan on rigging or animating individual points in this piece, and points tend to overcomplicate things anyways.
At first I panicked as the transparent regions of the image planes appeared black...
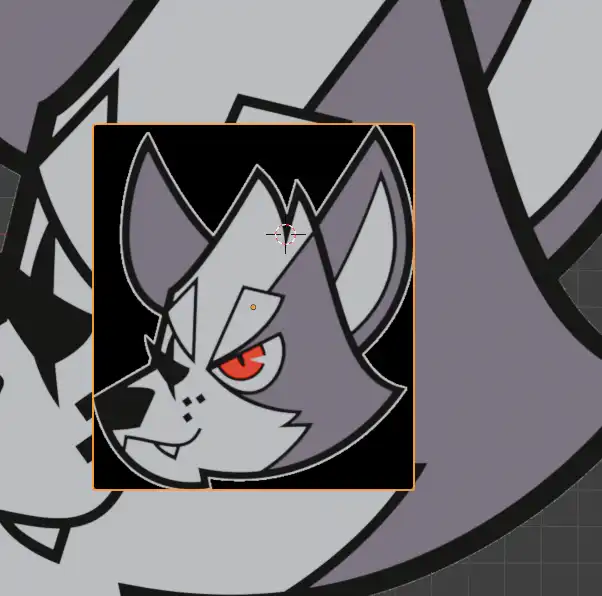
...but the fix was simple, they just can't be on the same position on the Y axis.

To get rid of the grainy white border around the cutouts, I went into the shader editor and changed the alpha mode of the images from "Straight" to "Premultiplied".
Once all the image planes were set up, I imported some bones from an older project, scaled them on the Y axis by 0, then recalculated their bone roll to global +Y axis.
Something I often have to remind myself of when weight painting is that Ctrl + X is used to "fill" in weight paint mode. I feel like this used to be something else before I switched to Maya in 2023, so I keep trying to use Shift + X instead, which just sets the weight to 0.
I like to parent the armature to an empty, it just makes scaling and placement of the character easier.
I added a short breathing animation and pressed Shift + E in the timeline to make the animation loop, selecting "Make Cyclic". This can be done in pretty much any panel that's designed for scrubbing through frames.
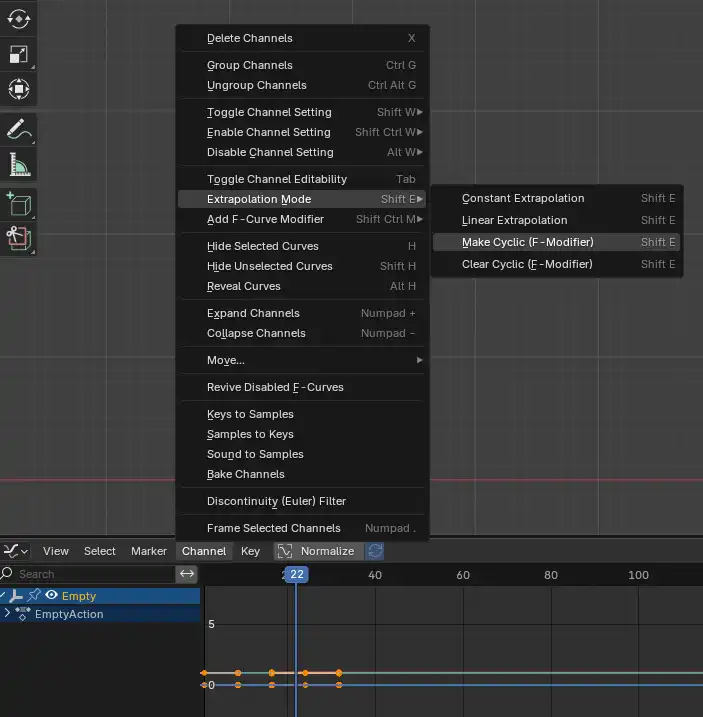
I did initially forget to add a third key, an animation needs to come back to the beginning in order to properly loop. An easy way to do this is to toggle the handles so that only the actual keyframes are visible by pressing Ctrl +H, then copying the first keyframe into the frame that you want the animation to restart on.
After that, I sped up the animation by bringing the scrubber to the first frame and scaling the animation by 0.5 along the X axis.
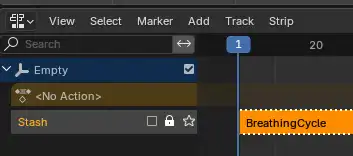
I went to the dope sheet, then the action editor, and named the action "BreathingCycle". Now I can mute the action to work on other animations and layer them later on. I can stash the action and mute it in the Nonlinear Animation panel and uncheck it to mute it.
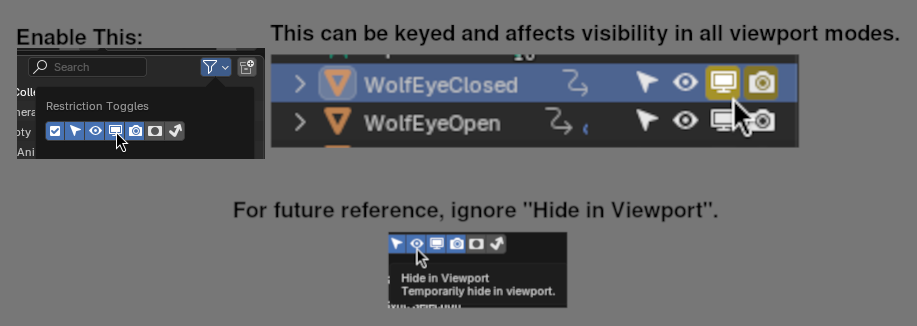
The blinking animation was achieved through a combination of squash and stretch and swapping one image plane for another. I did the latter by keying the eye image planes' "Disable in Renders" attribute, but despite having the viewport shading mode set to "Rendered", the image planes weren't affected unless I ran an actual render by pressing F12. This made it very difficult to key the blinking animation.
The solution was to also key the image planes' "Disable in Viewports Globally" attribute. Eventually I set my Blender startup file to exclude the "Hide in Viewport" restriction toggle altogether to avoid future confusion. It basically serves the same purpose as "Disable in Viewports Globally", except it isn't keyable.
When keying things to pop in and out, be sure to key them with constant interpolation in the graph editor:
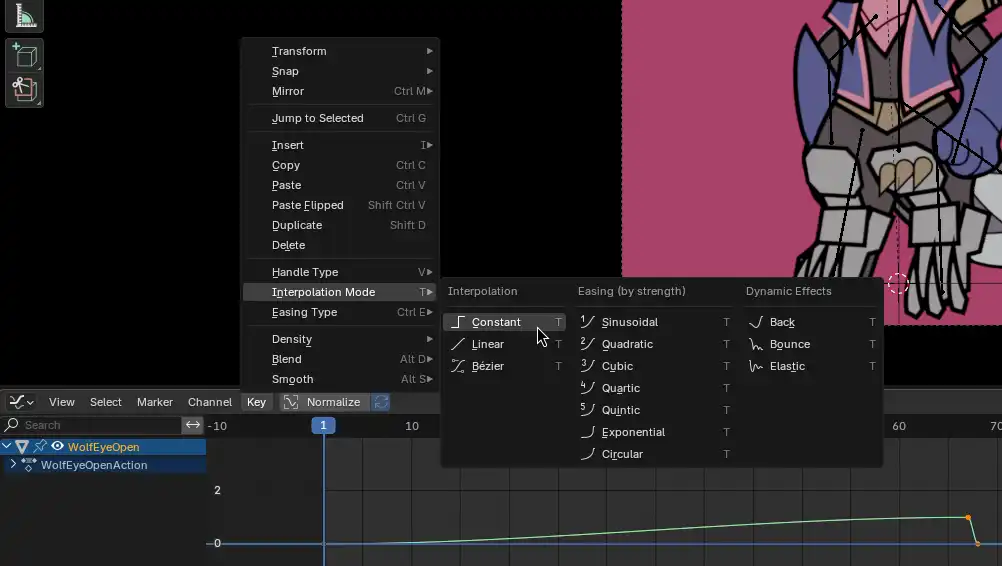
Otherwise you'll think you've gone crazy for having to go back and key things that you've already keyed. When this happens, it's because the value is neither 0% nor 100% and Blender just doesn't know how to interpret it. It's much better to have a graph that looks like this:

Next, there's Gimp. As usual, I took a step back to criticise my own work and decide on what needs to be changed. I like to make "mockups" of corrections in Gimp.
In doing so, I discovered that the transform tool was now "snapping" by default. I don't remember this being the default behaviour, but somehow, it was.
The fix was to select the transform tool, and without holding any keys on the keyboard, uncheck everything here:
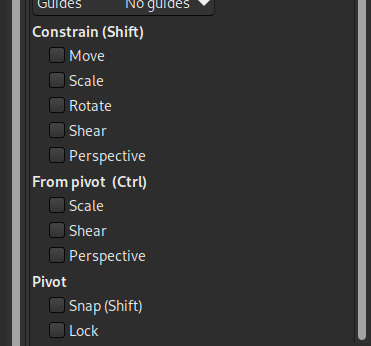
Basically, "Shift" and "Ctrl" in this context means "do the opposite here".

Lastly, there's Kdenlive.
For some reason, Kdenlive just wasn't reading the EXR sequence I rendered in Blender. I thought I was going crazy. I've always been able to edit EXR sequences in Kdenlive, until now, that is.

I tried doing some searching up online, but I couldn't find anything about the issue. I tried importing a test image sequence from OpenEXR's official website and got the same error. I even rebooted into Windows 11, downloaded the portable version of Kdenlive, and imported that same test image sequence (and even experienced some data loss in the process, more on that later), same error.
I ended up writing a post on KDE Discuss about it and was advised to file a bug report.
Just to make sure I wasn't losing it, I tried importing the same test image sequence on an entirely different machine running Windows 11 with a freshly downloaded portable version of Kdenlive. Same issue.
As a temporary fix, I used Converseen to convert my EXR sequences into TIF sequences instead. They're pretty much the next best thing.
I learned a ton during this project and I ended up happy with the result!
You can view the gallery entry of this piece here.